A Guide to Catcher’s Gear

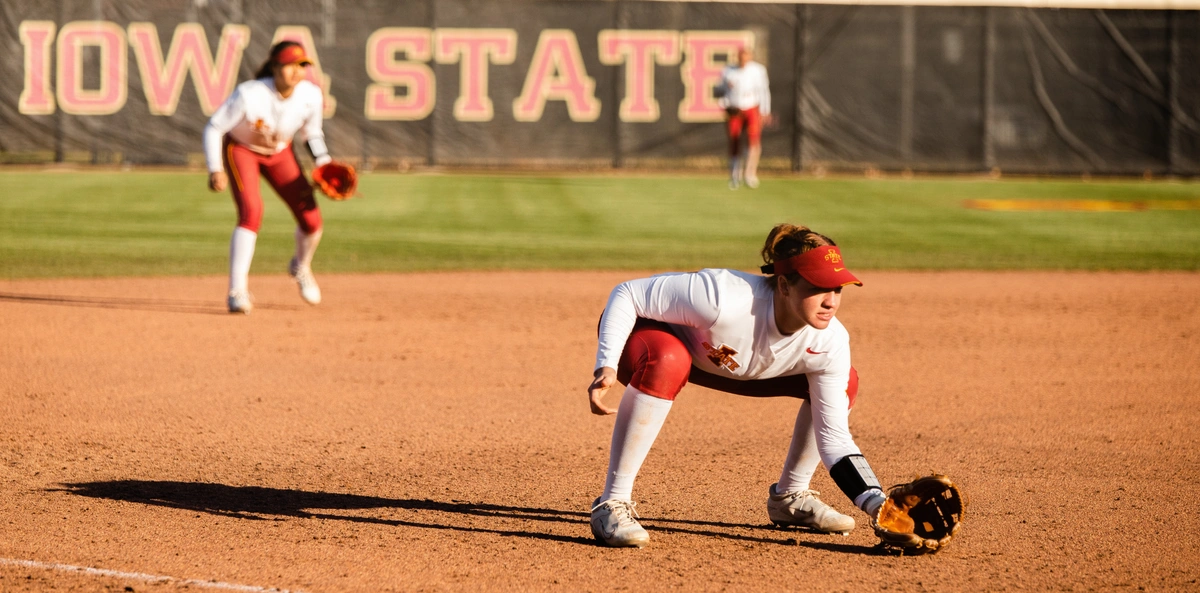
The catcher position in softball and baseball often goes uncredited, despite its crucial role. As a former shortstop, I understood the value of a skilled catcher who could throw accurately while our opponents attempted to steal second base.
However, in an unexpected turn of events, I became a catcher during my freshman year of college.
Transitioning to the catcher position so late in the game was unheard of, and few coaches, players, and fans were aware of such a switch. Nevertheless, my team needed another catcher, and my coach believed I was the best fit for the role. Initially intended to be a backup, I ended up starting as the catcher throughout my sophomore and junior years.
Playing as a catcher is challenging, and it undoubtedly takes a toll on your body. Additionally, there is an added financial cost due to the various protective equipment required for the position.
Let's examine the equipment essential for a catcher!
Helmet
In my personal opinion, the helmet is the most important piece of your gear.
When it comes to catchers’ helmets, there are two things you’re looking for:
- Safety: (a good helmet keeps you on the field!)
- Visibility: (it’s hard to catch if you can’t see!)
Over the years, manufacturers have accomplished this through two styles:
- The Traditional Two-Piece: This mask is popular in baseball, but is sparsely seen in softball. These masks are known for their breathability, affordability, and ability to be thrown off during plays. Their biggest drawback is the fact that they do not cover the whole head which creates a safety hazard.
- The Goalie-Style: This is most popular in fastpitch softball. It offers full protection of the head while maintaining visibility and because it’s just one piece, it’s stable on the head. The biggest drawbacks to this style of mask are the cost and somewhat difficulty of moving.
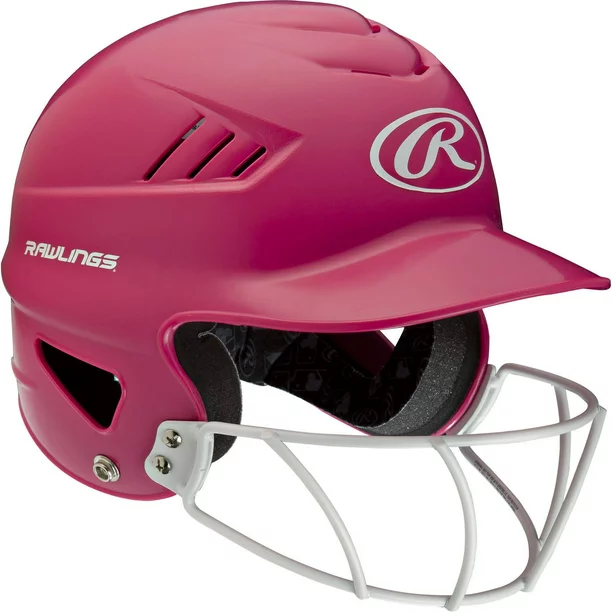
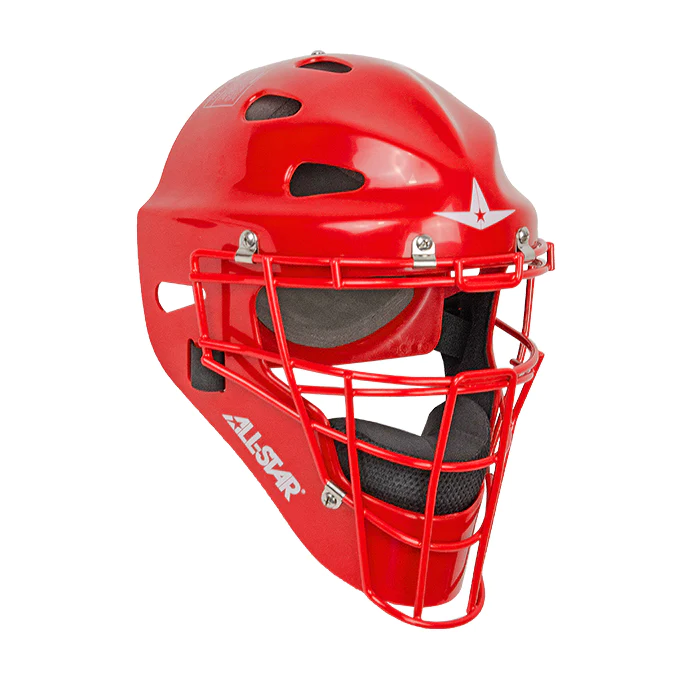
Picking a catchers’ helmet is no different from picking a batters’ helmet.
When picking your helmet, I recommend consideration of three areas:
- Fit: While you CAN measure the circumference of your head and order online, it’s best you head to a local sporting goods store to try on sizes first. Helmet sizing can be determined with the “Shake Test.” An appropriately sized helmet should stay in place when you shake your head up and down and side-to-side. It’s also important to note that padding will soften and squish with wear, so a helmet that feels a tad too tight is likely the best option.
- Visibility: As I said earlier, it’s hard to catch if you can’t see! It’s important you find a helmet that allows for as much visibility of the playing field as possible (This is another reason why I recommend trying helmets on before purchase!) When the helmet is appropriately fitted and placed, there should be no obstructions to the pitcher and her release point. After that, you want to maintain a full field of view with some ability to see within your peripherals.
- Safety: Easily the most important consideration as head injuries put your playing career at risk. Much of the safety concerns are eliminated when you pick a helmet that fits well without visibility restrictions. However, it is important your helmet meets safety standards. Similar to batting helmets, catchers’ helmets are required to have a NOCSAE sticker in order to be deemed safe for competition.
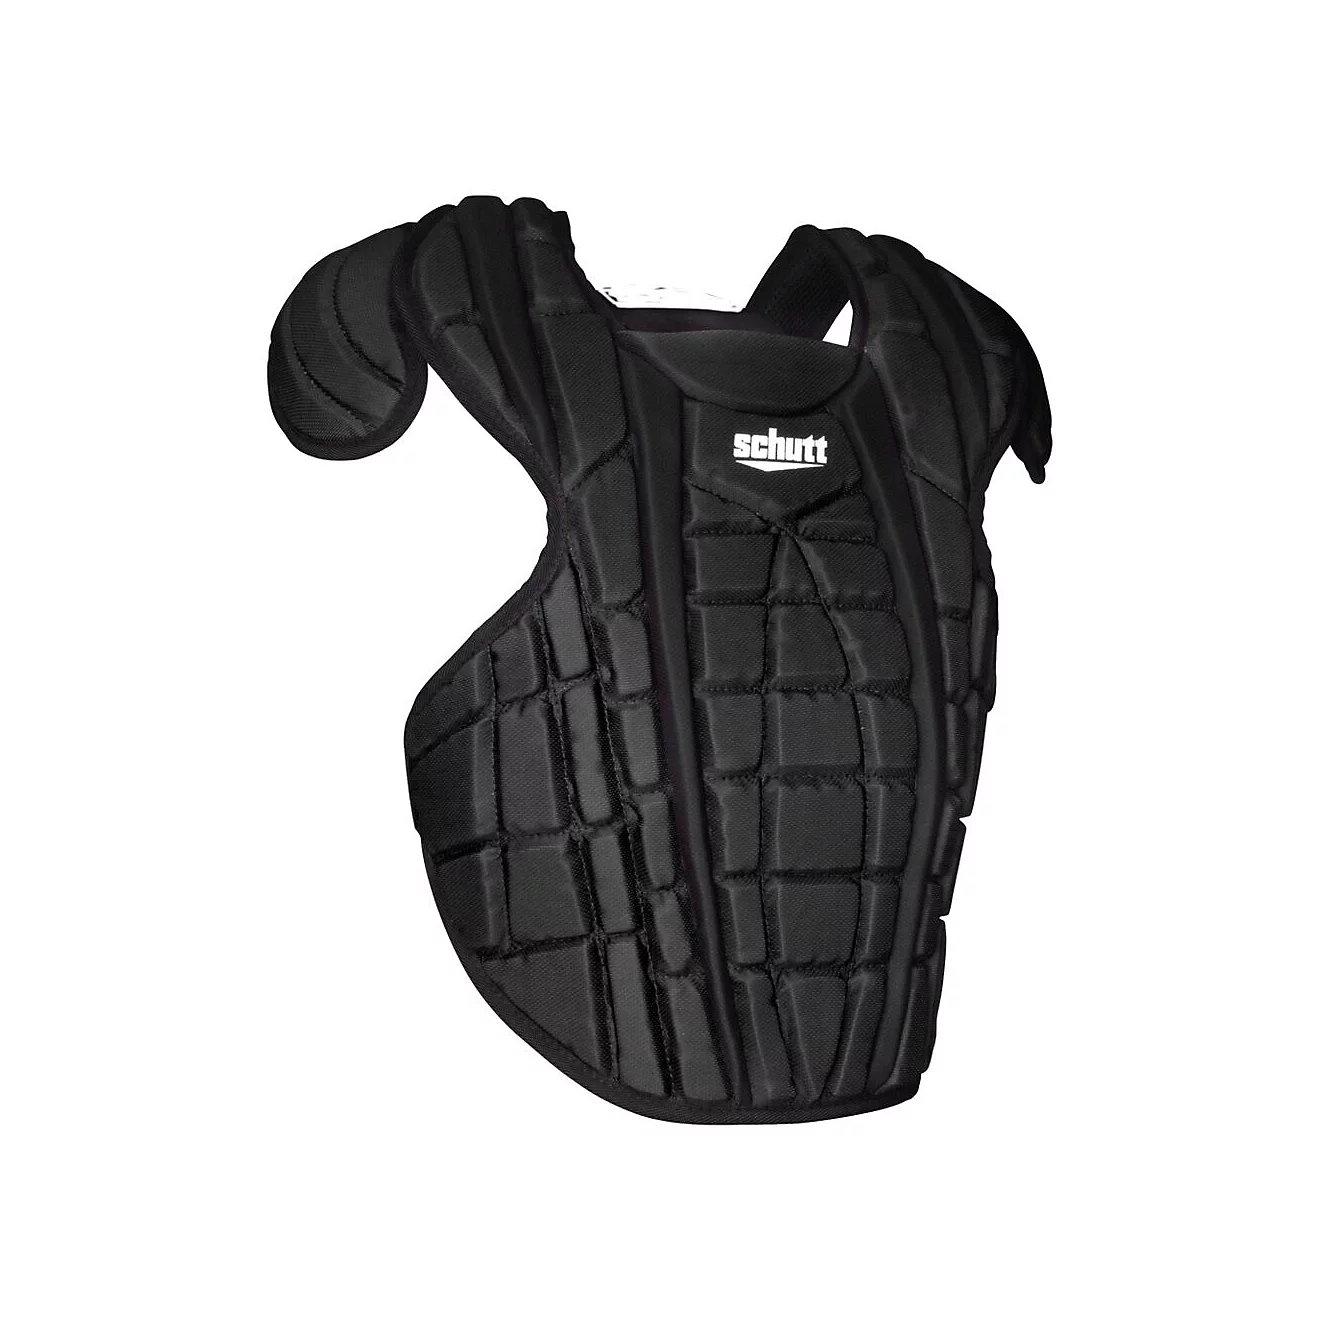
Chest Protector
The chest protector is another crucial element of a catcher's safety and should not be overlooked. It is essential to choose a high-quality, properly fitting chest protector to avoid potential life-threatening chest injuries. Baseball and softball chest protectors are slightly different, with softball chest protectors designed to accommodate the female body and feature a break in the chest area.
To determine the right size, measure from the top of your sternum down to your waist, as chest protectors are measured in length. Once you know your size, make sure to adjust the straps along the back and sides to ensure a proper fit.
While it may be tempting to order a larger size to save money, I strongly advise against it. This choice can significantly increase the risk of injury, which is not worth the small amount of money you might save.
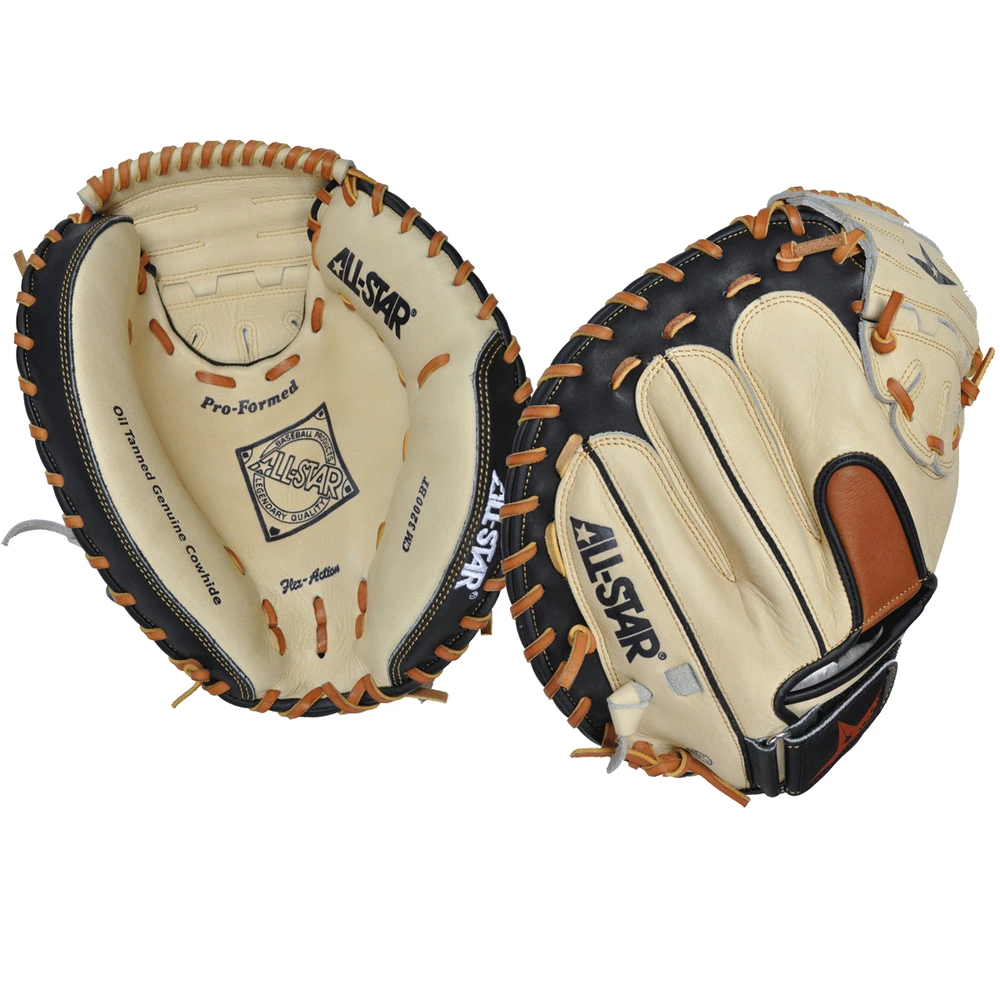
Glove/Catcher's Mitt
In my opinion, the most enjoyable part of selecting your equipment is picking out the catcher's mitt!
While it is not against the rules, it is not recommended to use fielder's gloves as a catcher. A catcher's mitt is specifically designed to protect and support the hand during the impact of a pitch.
Similar to choosing a fielder's glove, the material of the catcher's mitt is important. To avoid the hassle of buying a new mitt every year, it is advisable to look for one made of genuine leather blend.
Unlike fielder's gloves, which are measured by length, catcher's gloves are measured by circumference. However, there is less variation in size compared to fielding gloves. Youth players usually benefit from a 32.5-inch glove, as it is better suited for the smaller ball and the smaller hand controlling the glove. Older athletes typically use a 33 or 34-inch glove to accommodate the larger-sized ball.
When selecting your glove, it's essential to consider your strengths and weaknesses as a catcher:
- An open-backed catcher's mitt is lighter in weight and offers greater mobility for the user.
- A closed-back, on the other hand, is heavier but provides more padding and structure upon impact.
Nowadays, there are numerous customization options available for catcher's mitts. Take your time to assess and determine what features you truly desire.
It's important to note that catcher's mitts require time to break in. Regularly work on breaking it in, but keep in mind that it will take some time.
Shin Guards
Helmets and chest protectors protect against major injuries, but if you’ve ever taken a ball to the shin, you can understand how that can be a major pain.
Shin guards are an important piece of equipment designed to prevent scrapes, bumps, and hits to the shin.
It’s critical you find the right fit for your shin guards, for ones that are too small put you at risk for unnecessary hits, and ones that are too large limit your range of motion.
Manufacturers will use different size charts, but typically label sizes as youth, intermediate, and adult.
When measuring for your shin guards, you’ll need to measure from the middle of your kneecap to your ankle. During try-on, it’s important that the bottom of your shin guard rests on the tongue of your cleats.
Just like with helmets, you can try the “Shake Test” to check the fit of your shin guards. Try moving your body in quick movements to ensure your guards stay.

Optional Pieces
We’ve covered all the “must have” pieces of catchers’ equipment, but there are a few other pieces you can add to trick out your gear and improve safety:
- Wings/Shoulder Protectors: These are pieces that attach to the chest protector designed to protect the shoulder from foul tips and balls in the dirt. At one point, athletes were concerned about limited throwing motion with wings, but the updated design makes them lightweight and non-restrictive in their throwing motion.
- Groin Protectors: While this is required at a variety of levels in baseball, it is NOT required in softball. Some players will choose to wear a groin protector to improve protection against foul tips and balls in the dirt. These are attachable velcro pieces on most chest protectors.
- Knee Savers: These are a highly debated topics in both baseball and softball. Knee savers are an attachment to the back of the shin guards designed to relieve the pressure and stress on your knees. Some suggest these limit catcher mobility and hurt the development of leg muscles. If you have a history of knee pain or injury, they’re a valuable addition to your gear.
- Toe Guards: Shin guards protect the shins, but they neglect one key area - the foot! That’s why toe guards were invented! These are attachments to the bottom of your shin guards designed to go over the top of the foot to the tip of the cleat.
- Throat Protectors: In youth softball organizations, you might find catchers are required to wear a neck protector. This is a plastic guard that hangs off the lowest bar of the catcher’s mask. It’s designed to protect the throat when a catcher looks up or tilts the head back.
- Wrist Guard: There’s one part of the body largely unprotected by all this catchers’ gear - the arms. Catchers’ gear was designed with the throwing motion in mind, so the arms were left unprotected. That left the arm open to foul tips and balls in the dirt. Fortunately, wrist guards were invented to slide over the forearm and protect the wrists from harm.
Conclusion
Hopefully, this guide helps you to get geared up, keeps you safe, and levels up your game!